Showing posts with label Manual Setting. Show all posts

an egg in manual settings


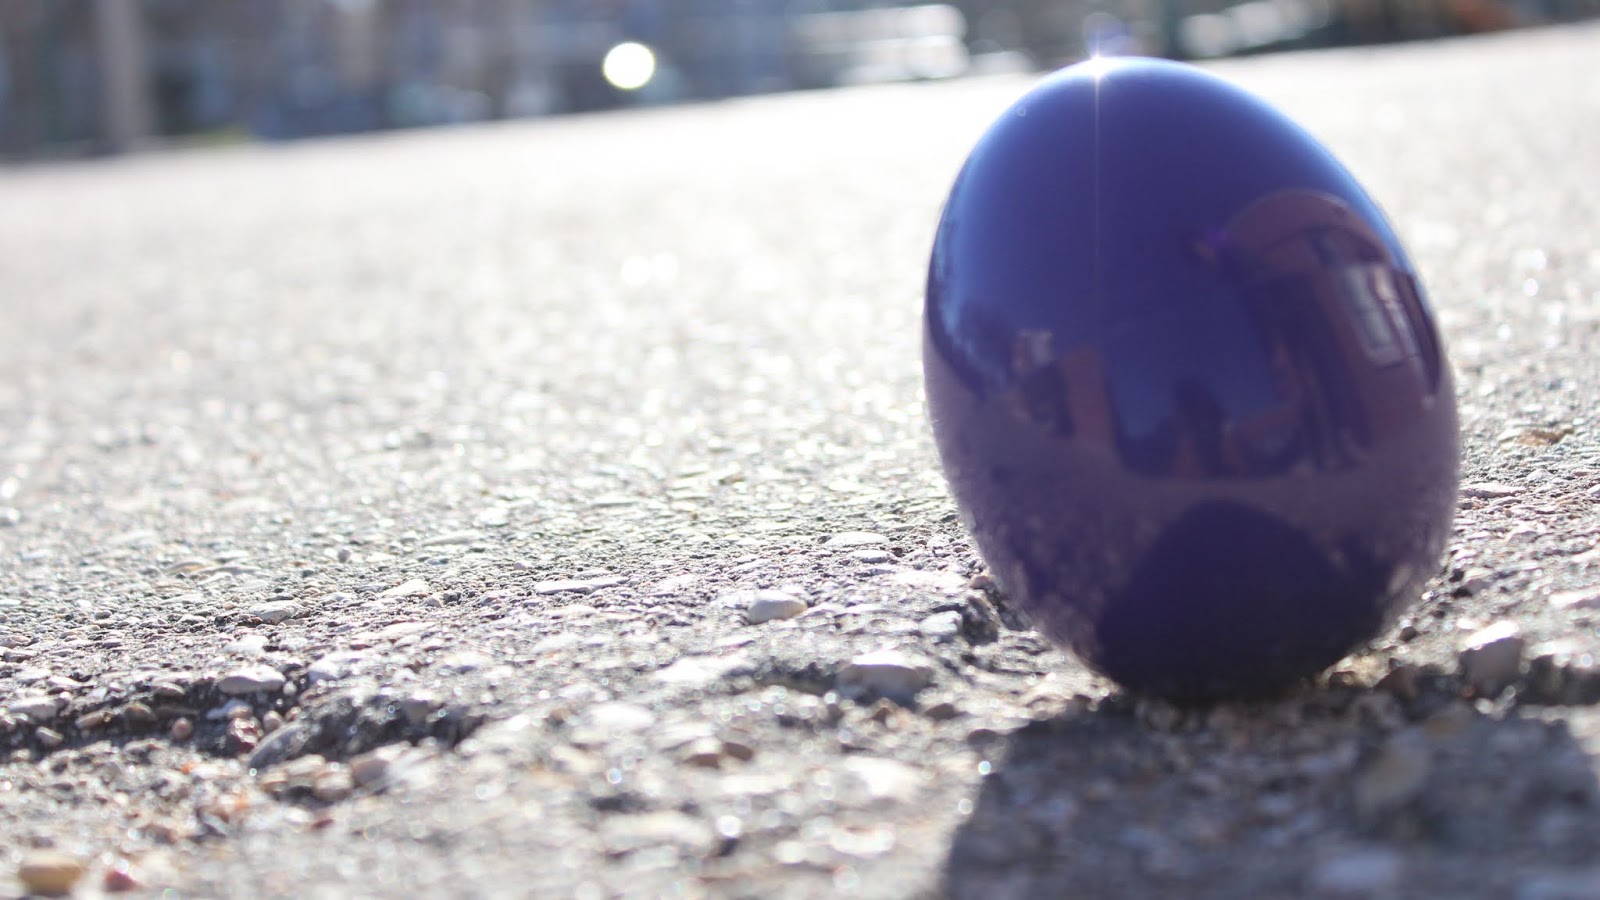
we were given eggs to take pictures off with different environment and using manual settings only.


An Egg In Manual Settings by jam


An Egg in Manual Setting by Justin


An Egg in Manual Setting by Colin


We were given an Assignment in GCT to take pictures of a small plastic egg in different places around the school and in our homes using different shot techniques.


An Egg In Manual Setting


For this assignment we were given different colored eggs to play around with . but we had to shoot using the Manual Setting!!! We were given the task to take different shots with different textures, climate and lighting conditions. While we were shooting we had to keep changing the settings, like the F-stop , ISO and shutter speed. i learned that the lower my ISO the crisper my image will be and that the lower F-stop the more light  it will let in through the lens. And we weren't allowed to do any post production!!


An Egg in Manual Setting by Kyle


In GCT we were given the assignment of photographing plastic eggs in various environments. While in manual mode we did our absolute best to take in account of all the elements such as lighting, aperture, and shutter speed to capture the best photos we could. Although I probably butchered most of my photos, I am glad to say I leave this assignment with a better understanding of my equipment and the importance of specific settings.


An Egg in Manual Settings by Maegan


How do you turn something as ordinary as a plastic egg into something interesting and eye catching? With this task, we really had to let our creative juices flow to come up with ideas that are captivating and not repetitious. Furthermore, shooting in manual mode was a requirement, which could end up both ways - a disaster or a gorgeous photograph. While shooting manually does tend to be very tedious while adjusting the settings, it was a very interesting experience, as the experimentation with shots resulted in varying photographs with the exact same subject. Admittedly, trying to figure out the aperture and shutter speed was a bit confusing, as well as figuring out what type of shot I wanted to produce. Do I want this shot in the bird's eye view? Worm's eye? Eye-level? Where do I want the light to hit? How should I position the egg? These were just a few thoughts that my indecisive self struggled with. However, I did manage to have end results that I am satisfied with.


An Egg in Manual Settings By: Cielo


For this assignment we received an egg from Mr. Harbeck. Our task was to go around and take pictures of the plastic egg. Mr. Harbeck has listed places where we have to take pictures of the egg. We had to take all the pictures in manual mode on our cameras. The different places also have different lighting conditions that we had to adjust the camera to.We had to analyze our lighting conditions to get the best of our pictures, like controlling our ISO, setting our F-stop and setting up our shutter speed. It wasn't easy, but we got to play around with the settings and learn more about the camera and photography as we did this assignment. 


an Egg in Manual settings


An Egg in Manual Setting By Haya


     In this assignment, Mr. Harbeck asked us to take pictures of eggs in different locations using manual setting. We had to adjust the ISO, F-stop and, shutter speed. At first it was difficult but it got easier the longer I had the camera. 


Using Manual Settings Assignment Number 3

For this assignment you will need the following website to help you out.

https://www.bulbapp.com/u/photo-shoot-assignment-egg-manual-mode

This assignment has been borrowed from Bulbapp and I give them full credit for creating it.

I will provide you the eggs to be successful.

A slide deck of your finished work will be made and posted at the blog.

Your post needs to have:

Title An Egg in Manual Settings By &&&&&
Labels Egg, yourname, Term 1, Manual Settings

Due Date TBA

To be successful in Manual Mode the following must be followed before you take the photos

  1. Analyze your lighting conditions
  2. Set your ISO. Remember to set ISO you need to press the i button on the lower left of camera.
    • smaller number = lots of light  
    • larger number = little light  (The higher you set the ISO, the more noise you get.)
    • prevent image noise (an electrical signal generated by the camera's circuitry; digital noise looks like red, green and blue specks scattered throughout an image, especially in darker areas) when noise is added to an image, detail decreases, resolution is lower and colors become pastel.
      4.   Set your f-stop. 
  • does you shot require lots of light? 
  • use a F-Stop such as 16, 11, 8 
  • need more light? need a lower F-Stop such as 4, 2.8
  • Use your light meter to determine f-stop.
     5. Set your shutter speed.
  • lots of light? use a higher shutter speed 
  • need light? use a lower shutter speed 
    6.  Now shoot the following lighting situations using Manual Mode: Include all in your slidedeck
  • Egg inside under a staircase. 
  • Egg inside next to a big window.
  • Egg inside in a closet.
  • Egg inside peeking out of darkness.
  • Egg inside being lighted by a lamp or light.
  • Egg inside in fluorescent light. (green light)
  • Egg inside in tungsten light.  (gold light)
  • Egg inside using your flash.  (white light)
  • Egg outside next to the building.
  • Egg outside next to metal, water or glass.
  • Egg outside in the shade. (blue light)
  • Egg outside in the sunny or cloudy conditions. (bright yellow or blue light)
    7.  Edit all images: Include edited photos in your slide deck
  • level, adjust highlights and shadows, color, hue and saturation
  • crop image (get rid of photo clutter)